Mastering Milky Way photography settings: a comprehensive guide
"What are the best camera settings for Milky Way photography?"
Jumping right in...
If you're new to this or feeling a bit lost on where to begin, consider this cheatsheet your trusty roadmap for the basics of Milky Way photography.
Set the shooting mode to Manual (M)
Set the shortest focal length you can: always <35mm, ideally 14-24mm
Set the largest aperture you can: between f/1.4 and f/2.8
Focus at the hyperfocal distance
Frame using the highest ISO available in your camera
Adjust the shutter speed using the NPF rule: between 8s and 20s
Fine tune the ISO: keep it between 3200 and 6400
Set the white balance to 3900K
Take a test shot and check the histogram
Now that you've got the quick answer, let's get into the details...
This guide will walk you through each of these settings step by step, explaining both the how and the why.
While the guidelines I'll provide are a solid foundation, photography is inherently experimental. You'll need to tweak your camera settings to shoot the Milky Way to find what works best for you.
Remember, there's no one-size-fits-all solution in Milky Way photography. Your success largely hinges on the light conditions at your location.
Adaptability is key. Be ready to adjust your plans on the fly.
The Milky Way won't wait for you! ;)
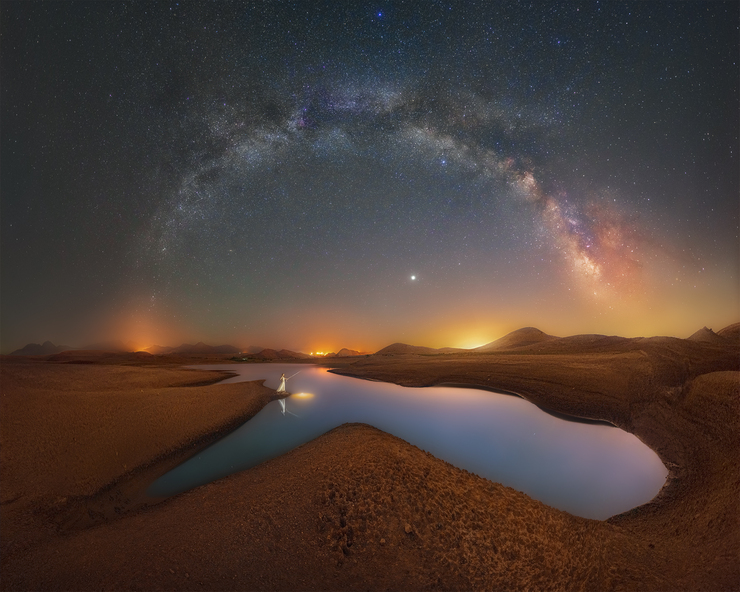
That's precisely what Pablo Ruíz, the photographer behind the example photo, practiced.
Make informed choices and stick to a consistent process.
(Of course, after doing your planning with PhotoPills!) ;)
Why not give it a shot?
There's nothing to fear!
And if you're keen on furthering your knowledge (which I highly recommend), check out these additional resources:
But for now, let's dive deeper into the Milky Way photography settings to start with.
"Look up at the stars and not down at your feet. Try to make sense of what you see, and wonder about what makes the universe exist. Be curious." - Stephen Hawking
Get this ebook for free now!
Content
- Set the shooting mode to Manual (M)
- Set the shortest focal length you can (<35mm)
- Set the largest aperture you can
- Focus at the hyperfocal distance
- Frame using the highest ISO available in your camera
- Adjust the shutter speed using the NPF rule
- Fine tune the ISO
- Set the white balance to 3900K
- Take a test shot and check the histogram
- Let's go capture the Milky Way!
1.Set the shooting mode to Manual (M)

Photo by Dante Barreto
I know… It might seem easier to let your camera choose settings for you.
But trust me, now's the perfect time to start learning how to use the Manual shooting mode (M)! ;)
I love the Manual shooting mode (M) because it lets you control everything about your Milky Way shots.
You want your photo to have just the right amount of light, right? To do that, you've got to manage three Milky Way photo settings well: aperture, shutter speed, and ISO.
So, give the Manual shooting mode (M) a try.
But remember, this is just what works for me. You don't have to do it my way.
If you're more comfortable with semi-auto modes, that's cool too.
Just so you know:
- In Aperture Priority mode (A or Av), you pick the aperture, and the camera picks the shutter speed. This affects how sharp or blurry the background is (the depth of field).
- In Shutter Speed Priority mode (S or Tv), you choose the shutter speed, and the camera picks the aperture. This lets you freeze or blur motion.
Tip: Turn the long exposure noise reduction setting off to prevent your camera shooting very slowly. This in turn reduces the number of pictures that you can take during the shooting session as it's very time consuming. You can reduce the noise later in post-processing.
2.Set the shortest focal length you can (<35mm)
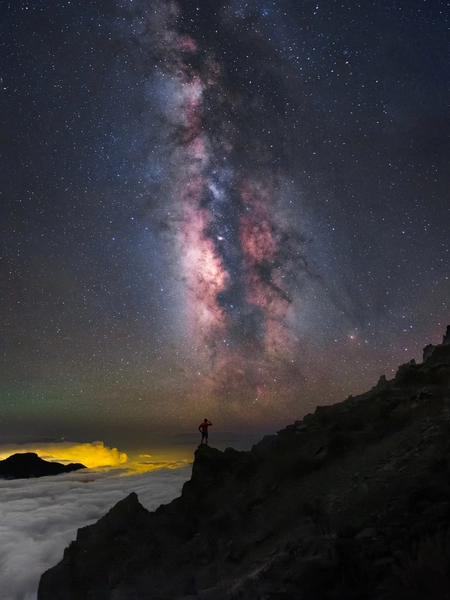
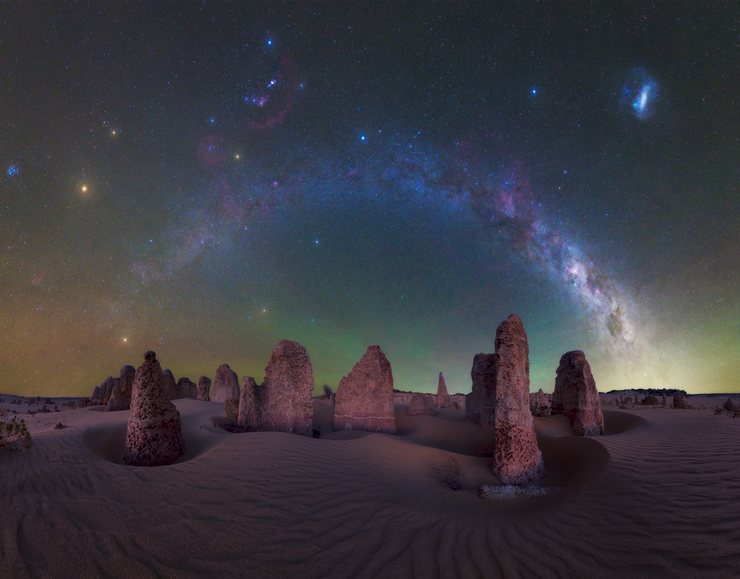
Photo by Joseba Koldobika
Use the lens with the shortest focal length you have like 14mm, 18mm, or 24mm.
Ideally, you should use a focal length between 14mm and 24mm.
I suggest you keep it below 35mm because:
- You'll manage to include more of the sky into your composition.
- A short focal length allows you to set a large aperture (small f number), which in turn lets you use a slower shutter speed (longer exposure time). That way you can let in more light, and the sensor can capture brighter stars.
I'll talk more about this in detail, especially about how long to keep your camera snapping, in section 6.
And of course, I suggest you read more about the best lens for shooting the Milky Way.
3.Set the largest aperture you can

Photo by Sergio Bautista
One of the best settings for Milky Way photos is selecting the largest aperture you can.
Why?
Easy.
Remember, you're shooting at night, which means that your camera is not seeing anything and the sensor has little light to capture from the scene.
So you want to open your lens' diaphragm to its maximum in order to capture as much light as possible.
In order to achieve this, you should set an aperture between f/1.4 and f/2.8.
Therefore, the best lens for shooting the Milky Way is one that has an aperture equal or lower than f/2.8.
As I always say, take it with a pinch of salt.
If you don't have a lens as fast as f/2.8, it doesn't mean that you can't capture jaw-dropping photos of the Milky Way. But it will make your life much easier :)
4.Focus at the hyperfocal distance

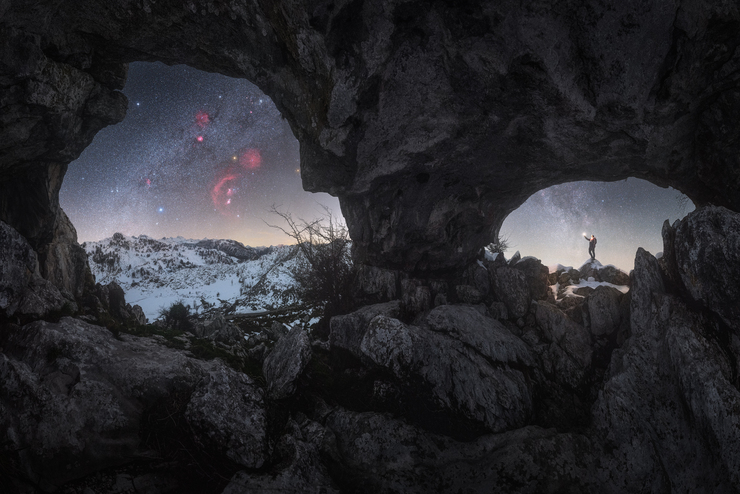
Photo by Israel Sánchez
When it comes to photographing the Milky Way, deciding where to focus will depend on how the key elements are distributed in the scene.
For example, whether your subject is close or far away from the camera... And also it'll depend on your personal taste!
Would you like to have everything from front to back in focus?
Or you just want to make sure that your subject is tack sharp... Or you want to make sure that the stars are tack sharp and you don't worry too much about the foreground!
Long story short... Depending on the scene you're photographing, and what you want to be in focus and out of focus in the photo, you have 3 focusing techniques!
Focus at the hyperfocal distance (the one I usually recommend).
Focus on a star.
Do a focus stacking.
Using one or another will depend on what you want as a photographer and in the scene you're photographing.
Tip: After using the automatic focus mode to focus at the hyperfocal distance, set it back to manual focus. It's the best way to ensure your focus doesn't change.
Have a look at this video where Rafael explains all 3 in full detail and step by step.
Let's have a look at them!
Focus at the hyperfocal distance (my favorite)
First thing first... The hyperfocal is just a distance, but an important one.
Focusing your camera at the hyperfocal distance ensures maximum sharpness from half this distance all the way to infinity. This covers almost everything in the scene except those elements that are very very close to the camera. So you'll have pretty much everything in the frame in focus!
And the good news is that PhotoPills will do all the math for you ;)


Open PhotoPills and tap on DoF (Pills Menu).
Then, select your camera taping on the top right corner of the screen.
Once you've done it, set focal length and aperture.
Et voilà!
The PhotoPills depth of field (DoF) calculator automatically calculates the hyperfocal distance.
As an example, using my Nikon Z6 together with an aperture of f/2.8 and a focal length of 14mm, the hyperfocal distance is 2.33 m.
Focus on a star
If you want the stars to be tack sharp, but you don't mind losing a bit of sharpness in your subject, then focus on one star.
Set the camera and lens to manual focus.
Set your camera to Live View mode.
Find a star and zoom in on it to magnify it (or use the Focus Magnifier option).
Turn the focus ring to make focus on it. Turn it until you see the star as a tiny little dot (actually, the smallest possible dot).
Remember: Once you have set the focus, keep it in manual mode and avoid touching the focus ring while taking Moon photos, unless you change your lens or focal length.
After setting the focus, take a test shot and view it on your camera's LCD screen. Zoom in on the picture to check if all or most of the scene appears clear. Occasionally do this while shooting to ensure your focus hasn't accidentally shifted.
Do a focus stacking
Focus stacking is a shooting technique where you take a shot focusing on the stars.
Then, you take several shots focusing at different distances in the scene to make sure that the whole scene from front to back is tack sharp.
Finally, you blend all the photos in Photoshop to get a perfectly sharp image.
This technique entails a lot more work. And depending on the type of subject you're shooting, it can be tricky… Like flowers and plants in the foreground, for example.
But with a bit of practice you'll master it for sure!
If you want to learn how to do focus stacking, I recommend you to watch this amazing masterclass where Isabella Tabacci unveils all her secrets.
5.Frame using the highest ISO available in your camera

Photo by Javier Rosano
Let's keep finding out the best camera settings for Milky Way photography.
Now it's time to frame using the ISO.
Don't be afraid to crank up the ISO. Set the ISO to the maximum value.
Then, take as many shots as necessary until you adjust the framing to the composition you're looking for.
Don't worry about the noise resulting from using a high ISO. The idea here is to take advantage of it while using a very fast shutter speed. This will allow you to adjust your composition fast and then keep working on the following settings to shoot the Milky Way.
6.Adjust the shutter speed using the NPF rule

Photo by Luis Marín
Of all the camera settings to photograph the Milky Way, the shutter speed is the most important one.
Remember that if you want to keep the lightness of your picture (how light or dark it is), you need to balance the aperture, the shutter speed and the ISO.
You have two conditions that define your shutter speed:
- You need to keep the shutter open as much as possible to capture as much light as possible, and thus get more stars in the photo.
- You need to limit the exposure time to prevent stars from trailing, and thus get the stars as big bright spots.
Depending on the camera and settings you use, you should use a maximum shutter speed between 8-20s.
But it’s best to calculate it accurately.
To work out the shutter speed for Milky Way you need, use the PhotoPills Spot Stars calculator.


To do so, go to PhotoPills and open the Spot stars calculator.
Once there, choose your camera and set
- The focal length,
- The aperture,
- The minimum declination of the stars, and
- The accuracy mode (default is the best option in most cases).
If you don't know the minimum declination of the stars you need to set, tap the AR button, point your smartphone where you're framing the camera and let PhotoPills automatically calculate the exposure time you need... ;)
Alternatively, if you're in doubt, just set the declination of the stars to 0º.
On the table of results you get two values: the NPF rule and the 500 rule.
The NPF rule gives you a more accurate value than the 500 rule. It even takes into account the megapixels of your camera.
If you want to learn more about the NPF rule and the 500 rule, you should read section 9 of our Milky Way photography guide.
7.Fine tune the ISO
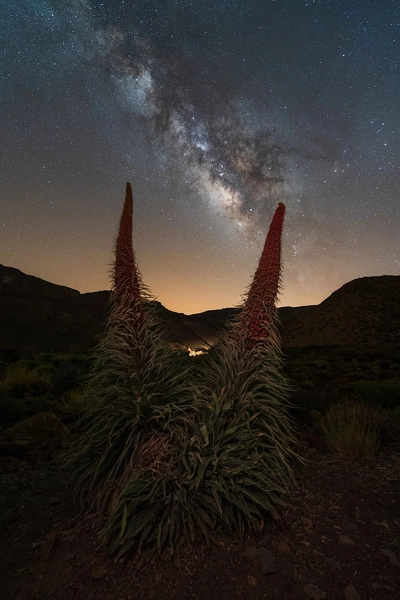
Photo by Yesica Nieves
Now that you have 2 key settings for photographing the Milky Way (the aperture and the shutter speed) it's time to fine tune the ISO.
In order to keep the same lightness, the ISO will be set by the exposure triangle. And ideally, you should use an ISO as low as possible.
But be ready to push it up depending on the light conditions (Moon, light pollution, etc.) you have at the time of the photo. This will also help to play with a faster shutter speed (and avoid Star Trails).
Start with ISO 3200 and increase it depending on the aperture (section 3) and shutter speed (section 6) you've determined previously.
I recommend you keep it between 3200 and 6400. But, as always, it all depends on how much noise your camera produces.
- Low-end cameras, usually with cropped sensors, are much more limited. If you crank up your ISO to the far end, chances are that your image will have digital noise. So try to keep it at or below 3200.
- High-end cameras with full frame sensors can produce amazing images with little or no noise at high ISO values (6400-12800).
Having said that, if you need to go over 3200 knowing that you'll get a reasonable noise level, do it. It's always better to have a noisy Milky Way photo than to have no picture at all ;)
8.Set the white balance to 3900K

Photo by Asier López
"OK Toni, what's the best white balance for Milky Way photography?"
A good starting point is to set your white balance to 3900K and tweak it from there.
White balance helps make the colors in your Milky Way photos look real, like how you see them with your eyes.
What color should the Milky Way be? Well, it's kind of a soft yellow, around 4840K. But, it can change based on different things, so play around with the white balance to make it look right.
Things like city lights (light pollution) or the Moon can change how colors look in your photos. But don't stress! Since you're taking photos in RAW format, you can fix the white balance later when you're editing.
A cool tip is to look at bright stars for color clues. If red stars like Antares or Mars look blue in your photo, you need to change your white balance until they're red again.
9.Take a test shot and check the histogram

Photo by Jens Ober
Now that all your Milky Way photography settings are adjusted, the last step is to check the histogram.
The histogram is super important in taking photos. If you don't know it yet, it's time to learn about this tool and why it's useful.
When taking pictures of the Milky Way, looking at the histogram helps a lot.
Why?
Because the camera screen and the outside light can fool you, making you think your photo looks different than it really does. To make sure your photo has the lightness you're looking for, always check the histogram.
Oh, one final thing... Turn down your LCD screen brightness to see a more realistic preview of the image. Apart from the histogram, it will prevent you from underexposing your Milky Way pictures.
10.Let's go capture the Milky Way!
Alright, the stars are calling! It's time to grab your camera and dive into the night.
Mastering Milky Way photography settings is a journey of continuous learning and practice. Each night under the stars offers a new chance to refine your skills, experiment with settings, and capture the galaxy's awe-inspiring beauty. Remember, the magic of Milky Way photography unfolds through trial and error, patience, and persistence.
Encountered a challenge or have questions that this guide didn't cover? Don't hesitate to reach out. Drop a comment below, and I'll be here to offer guidance, share further insights, or simply cheer you on.
The journey of capturing the Milky Way is as boundless as the night sky itself. Keep exploring, keep shooting, and most importantly, enjoy every moment of awe and wonder.
The galaxy awaits you, and who knows? Your next shot could be the one that takes our breath away.
And when you capture that mesmerizing Milky Way photo, consider sharing it with our community of fellow night sky enthusiasts at the PhotoPills Awards. Your creativity could inspire others and perhaps even earn recognition for your work.
Now, let's go capture the Milky Way!
Note: Some links on this page are affiliate links. What does this mean? If you buy/rent using these links you're helping support us and it costs you nothing extra. Thank you for your support.
Get this ebook for free now!